How to Type Transliterated Sanskrit with Diacritics in Mac OSX (Video + Workflow)
Feb 15, 2019
Note: this PDF workflow was generated on Feb 14, 2019 using Mac OS Mojave 10.14
Getting Started
There are various schemes for transliterating Sanskrit (as well as Pāli, Hindi, etc.) into Roman characters. Most common is the International Alphabet of Sanskrit Transliteration (IAST) which utilizes a system of special “diacritic” marks above and below the characters (e.g., ā, ī, ś, ṣ). It is actually very easy to type on a Mac using diacritics, once you get your machine properly set up!
Here are instructions and a workflow for getting started.
1. Fonts
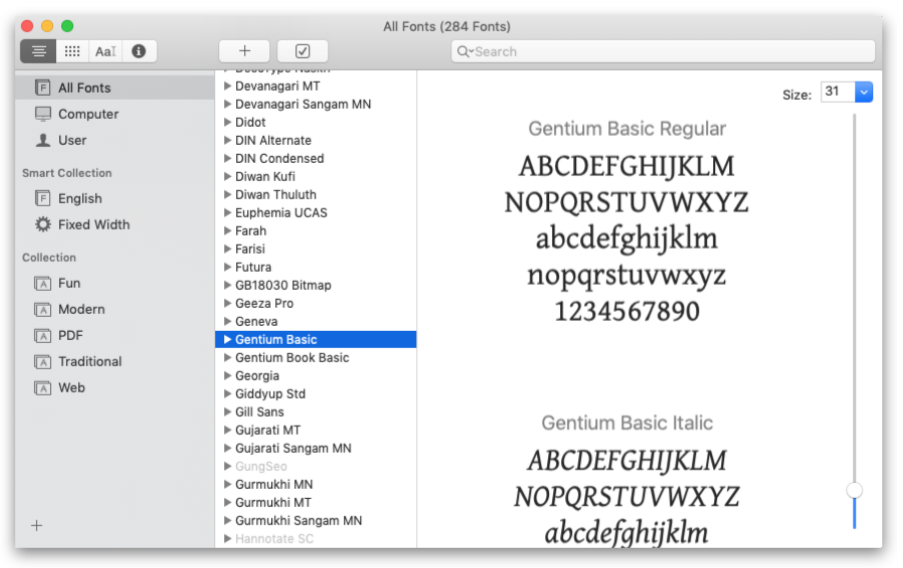
Use a unicode font that has the proper extended range of characters. Many fonts will work just fine, but it is highly recommended that you use a “unicode” font for typing Sanskrit in transliteration. A few of my favorites include:
- Gentium
- Athelas
- Palatino
- Tex Gyre Pagella
Download a .zip file of the Unicode Font Package.
To install any of these fonts, go to…
- Applications > Font Book.
Once the font files are unzipped, you can simply drag the .ttf and .ttc files right into the Font Book window to add them to your collection.
2. Installing the Keyboard Layout
Install a keyboard layout that allows you to type the proper diacritic characters. There are a few different keyboards that can accomplish this, but I recommend the EasyUnicode Keyboard. Developed by Toshiya Unebe, this keyboard layout is especially useful for Indic languages such as Sanskrit and Pāli.
- Download the EasyUnicode Keyboard.
Once you download and unzip the package, you will see the .keylayout files, in addition to some readme PDFs with installation and other information.
The easiest way to install the keyboard is simply to drag and drop the .keylayout file into your Mac’s Keyboard Layouts library.
- Hard Drive > Library > Keyboard Layouts
(or depending on your setup, it may be…)
- Hard Drive > System > Library > Keyboard Layouts

3. Enable the Keyboard Layout
Once you’ve completed step 2, follow these final steps to get you up and running. Here is the workflow:
- System Preferences > Language & Region (or International) > Keyboard Preferences > Input Sources > + (Add New) > Others > EasyUnicode > Add


You might also like to active the Keyboard Viewer in the menu bar for a helpful visual map of your new keyboard layout.

Now, to use your new keyboard layout, you’ll simply click the international flag at the top-right of your screen, and select your EasyUnicode layout.

To visually see all of the additional characters in your new Keyboard Layout, you’ll want to click “Show Keyboard Viewer.”

Congrats!
You are all set to begin typing Sanskrit with diacritics! Open up your favorite text editing software (Pages, Word, TextEdit, etc.) and start typing away.
To type with characters using diacritic marks, you will use the “option” key + another character. If you have your visual Keyboard Layout open, when you press the “option” key, you will see all of the combinations.

E.g., option + a = ā option + x = ṣ option + s = ś
For capital letters, simply add the “shift” key.

E.g., option + shift + a = Ā option + shift + s = Ś
Note: This article and tutorial is an excerpt from the Yogic Studies online course, SKT 100b | Sanskrit for Yogis. For more info, or to register for the course today, you can click here.